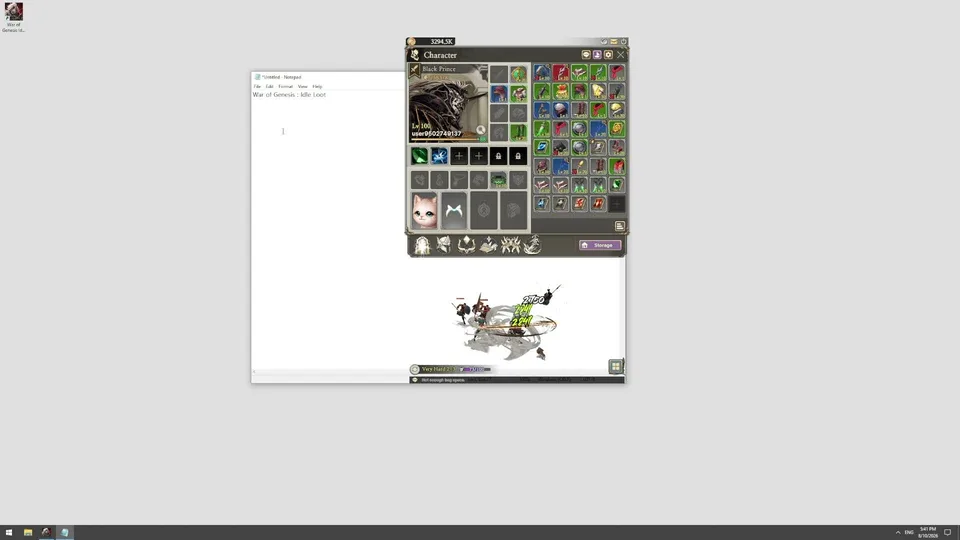
War of Genesis Best Farming Stage: How to Maximize Loot and XP
Discover the best farming stages in War of Genesis: Idle Loot, learn how difficulty levels scale drops, and master automated item combining to maximize your progression.
Published: War of Genesis Wiki Editorial Team
Table of Contents
Finding the Best Farming Stage for Progression
Farming & Progression Requirements:
Clear all maps in your current difficulty tier to unlock the next level.
Utilize the automatic combine feature in the blacksmithing tab to merge low-level items efficiently.
Maintain active diamond production at the altar every 4 hours for permanent account stat boosts.
Keep resistance skills in your training menu leveled up to survive high-damage boss encounters.
When diving into an idle RPG, knowing where to focus your grinding efforts is essential for steady advancement. In War of Genesis: Idle Loot, available on Steam, your character automatically fights monsters, collects loot, and progresses while you are away. However, simply leaving your character in the starting zone will eventually bottleneck your growth. To maximize your rewards, you need to understand how maps, difficulties, and drops scale as your power increases.
The game features four core map environments: the Ancient Ruins, Tropical Rain Forest, Underground Prison, and Ice Castle. Within each of these environments, progression is further divided into four distinct difficulty tiers: Normal, Hard, Very Hard, and Nightmare. The golden rule for finding the best farming stage is simple: push as far as your character's combat power allows. The higher the map and the more challenging the difficulty tier, the significantly better the loot quality and drop rates will be.
If you find your character repeatedly failing a stage or taking too long to defeat bosses, community reports and player experience suggest scaling back temporarily. Dropping down a difficulty tier prevents frustrating progression walls, ensures a steady stream of experience points, and builds up a reliable reserve of spare gear pieces needed for crafting and combining.
Assess Current Power: Check if your character can comfortably clear regular mobs without dropping below 50% health consistently.
Push Map Difficulties: Progress through Normal, Hard, Very Hard, and Nightmare sequentially by clearing all maps within a tier.
Fall Back When Stalled: If you hit a progression wall against tougher bosses, step down one difficulty level to maintain high XP and drop yields.
Automate Loot Management: Set up the blacksmith's auto-combine feature to process low-tier equipment drops seamlessly while you farm in the background.
Utilizing the Blacksmith to Manage Farmed Loot
Extended farming sessions will quickly fill your inventory with a massive amount of gear, accessories, pets, wings, runes, and jewels. Managing this influx manually can slow down your idle experience, but the blacksmith provides essential tools to keep your storage clean and your character progressing.
According to community guides, one of the most effective ways to utilize farmed materials is through the auto-combine feature. By accessing the blacksmithing tab and selecting the green recycle icon next to the combine button, you can automate the process of merging six identical items of the same rarity into a higher-tier upgrade. You can fine-tune settings such as specific loot grades and item levels before initiating the background process, saving valuable time during long AFK sessions.
Auto-Combine Low-Level Gear
Fill the circle with six items of the same rarity to roll for a higher-tier drop. Enable the green recycle icon to automate the merging process for background farming.
Dismantling for Relic Fragments
Unwanted gear and accessories can be dismantled into materials. These fragments are required to unlock and upgrade relics, which provide vital passive stat increases.
Storage Management for Alternate Classes
Keep class-specific weapons and gems in your storage if you plan on experimenting with different playstyles later, balancing the need for gold against long-term flexibility.
Essential Auxiliary Systems to Boost Farming Efficiency
Farming stages alone will not be enough to conquer the endgame challenges of War of Genesis: Idle Loot. To truly maximize your output, you must integrate several key progression systems running parallel to your active map grinding.
First, check in regularly to claim your diamonds from the altar. This non-tradeable currency generates once every 4 hours, capping out after 20 hours if left uncollected. Spending diamonds on altar enhancements provides permanent stat boosts that scale your account power over time. Additionally, make sure to invest in your resistances via the training menu. Many late-game enemies and bosses deal overwhelming elemental or stun damage, making level 5 resistance nodes mandatory to prevent sudden progression halts.
Finally, participating in systems like Alliances provides helpful combat power rankings that grant limited-time buffs to defense, damage, and attack speed. Combining these auxiliary bonuses with optimal stage selection ensures your idle farming yields the fastest possible progression.
Warning
Avoid lingering on high-difficulty stages where your clear times exceed an hour or result in frequent deaths. A lack of drops will severely bottleneck your character's journey, making targeted farming on lower, stable difficulties a much smarter short-term strategy.